How to Put Pictures on T-Shirts: 5 Easy Methods That Actually Work
Want to turn a favorite picture into a shirt? Whether it’s a family photo, pet, memorial picture, funny selfie, vacation photo, artwork, or a picture for your brand, there are several ways to get it onto a T-shirt. Here’s how to choose the right method, including an easy option that lets you make professional photo shirts at home without owning a printer.
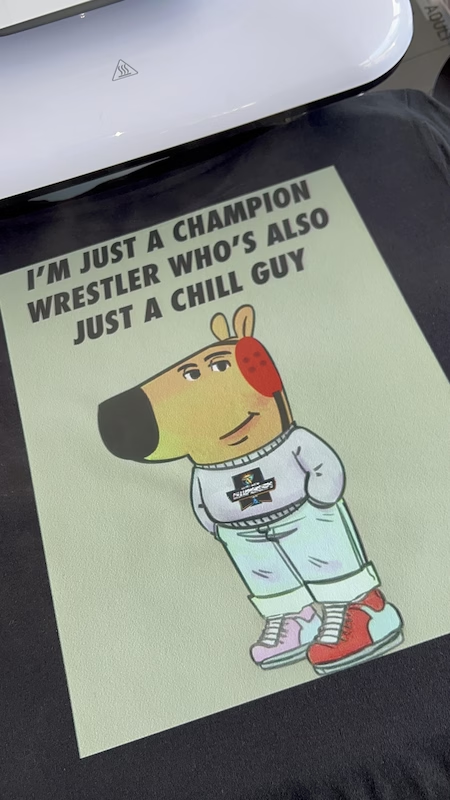
So you have a picture on your phone and you’re thinking:
“How do I put this picture on a T-shirt?”
Good news: it’s easier than it used to be.
You don’t necessarily need a commercial printing shop, expensive screen-printing equipment, or even your own printer.
Today, you can make a shirt with a picture on it using several different methods, including DTF transfers, direct-to-garment printing, sublimation, iron-on transfer paper, and printable heat-transfer vinyl.
The catch is that these methods don’t all produce the same result, and they don’t all work equally well on every shirt.
A full-color family photograph on a black cotton T-shirt has very different printing requirements from a photograph going onto a white polyester performance shirt.
So instead of giving you one answer, we’re going to explain the major options, what you need for each one, and which method we’d choose depending on the project.
TL;DR: What’s the Easiest Way to Put a Picture on a T-Shirt?
If you already own a heat press, one of the easiest ways to create a professional photo T-shirt is to order a ready-to-press DTF transfer of your picture.
You upload the photo. The DTF printer handles the ink, white underbase, adhesive powder, curing, and transfer film. When it arrives, you position the finished transfer on your shirt and apply it with a heat press.
DTF is especially useful for photos because it can reproduce detailed, full-color images and works on many cotton, polyester, and blended garments including dark shirts.
Don’t own a heat press or simply don’t want to make the shirt yourself? Have the complete shirt professionally printed instead.
Hollywood Prints offers both options: you can order ready-to-press custom DTF transfers or choose a shirt from our custom clothing collection and let us handle the printing.
How Do You Put a Picture on a T-Shirt?
At the simplest level, you need three things:
- A digital image
- A compatible T-shirt
- A printing or transfer method capable of reproducing the image
The right method depends on what equipment you have and what kind of finished shirt you want.
I Have a Heat Press
Order a ready-to-press DTF transfer and apply the picture yourself.
I Have No Equipment
Upload the picture to a custom apparel printer and order the completed shirt.
I Want to DIY Everything
Explore transfer paper, printable HTV, sublimation, or eventually your own DTF equipment.
For most people making one photo shirt at home, buying an entire commercial printing system doesn’t make much sense.
That’s why ready-made transfers can be such a useful middle ground: you get professional printing without needing to own the printer.
Before You Print: Prepare Your Picture
The printing method matters, but it can’t magically create detail that doesn’t exist in your original picture.
If you start with a tiny screenshot, heavily compressed social-media image, or blurry picture and enlarge it across the entire front of a shirt, the finished print can look blurry too.
Start With the Original Photo
Whenever possible, use the original image from your phone, camera, photographer, or design software rather than downloading a compressed copy from social media.
Use a Large Image
Print quality depends on the relationship between the image’s pixel dimensions and how large you intend to print it.
For example, a photo that looks perfectly fine as a 3-inch print may not contain enough information to remain sharp when enlarged to 12 inches across a shirt.
300 DPI Is a Useful Target But Pixels Matter
You’ll frequently hear that artwork should be 300 DPI.
That’s a useful target for print preparation, but simply changing a low-resolution file’s metadata to “300 DPI” doesn’t magically add detail.
What matters is whether the file has enough actual pixels for the intended print size.
For example:
- 10 inches wide at 300 DPI = approximately 3,000 pixels wide
- 12 inches wide at 300 DPI = approximately 3,600 pixels wide
You don’t always need to hit exactly 300 DPI to produce a usable apparel print, but starting with the largest, clearest original image gives you much more flexibility.
JPG or PNG?
A high-quality JPG is perfectly reasonable when you’re printing the entire rectangular photograph.
A PNG becomes especially useful when you want the background removed and need transparency around the subject.
Put a Picture on a Shirt With a DTF Transfer
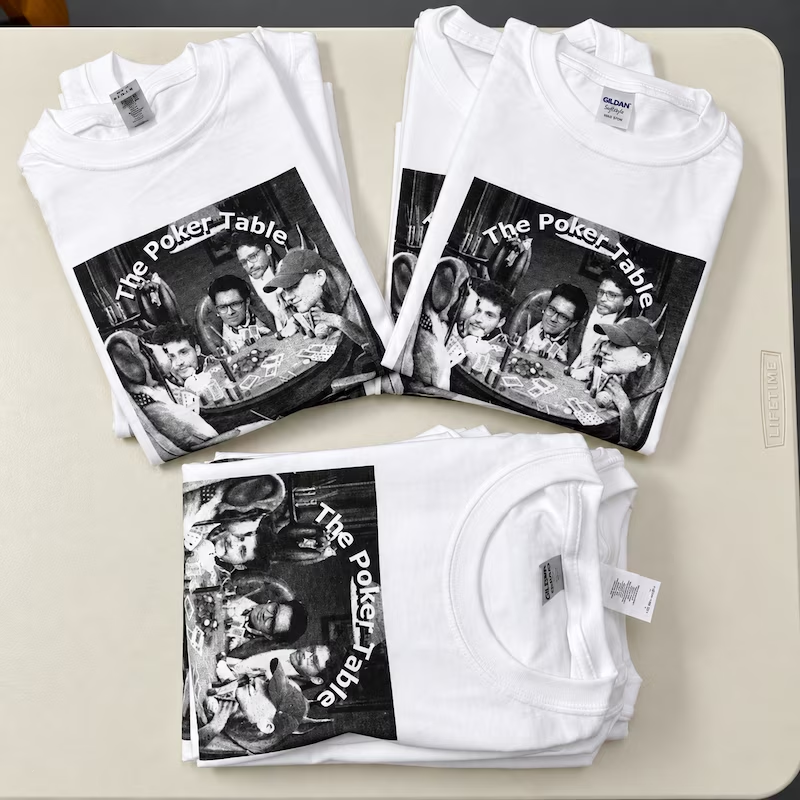
Direct-to-Film, or DTF, is one of the most flexible ways to put a full-color picture on a T-shirt.
Your image is digitally printed onto special transfer film. A white ink layer can be used behind the colors, adhesive powder is applied and cured, and the completed transfer is then heat-pressed onto the shirt.
The important part for a home user is that you don’t have to perform all of those production steps yourself.
You can upload your picture to a DTF printer, receive the completed transfer, and only handle the heat-press application.
Why DTF Works Well for Pictures
- Handles full-color images
- Can reproduce gradients and photographic detail
- Works on many cotton shirts
- Works on many polyester and blended shirts
- Works on light and dark garment colors
- Doesn’t require weeding individual colors
- Lets you order the transfer without owning a DTF printer
If you’re specifically working with cotton, read our guide: Do DTF Transfers Work on Cotton?
Upload a Picture for a DTF Transfer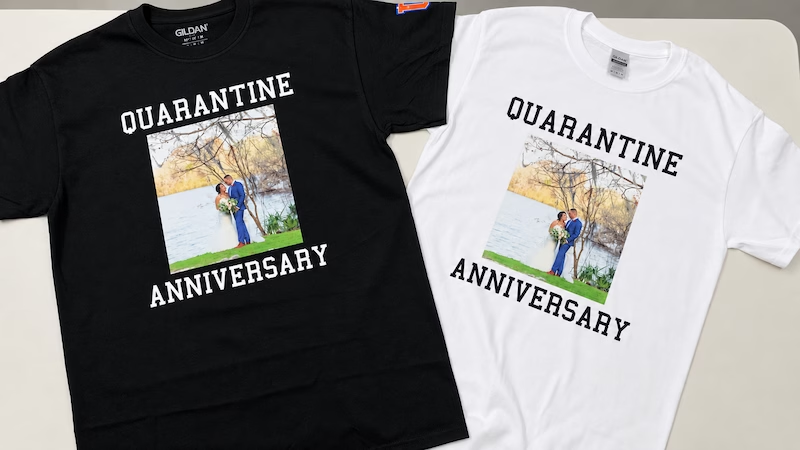
Print the Picture Directly Onto the Shirt With DTG
Direct-to-Garment printing, usually shortened to DTG, works more like a specialized digital printer for clothing.
Instead of first printing your picture onto transfer film, a DTG printer applies the image directly to the garment.
DTG can be excellent for photographs, illustrations, gradients, and other detailed artwork, particularly on suitable cotton garments.
The downside for DIY users is obvious:
You’re probably not buying a commercial DTG printer just to make your boyfriend a shirt with your dog’s face on it.
DTG makes the most sense when you’re ordering the completed shirt from a professional printer that already owns and maintains the equipment.
Best for: Professionally printed photo shirts where you want the printer to handle the complete process.
Use Sublimation to Put a Photo on Polyester
Sublimation is another excellent way to reproduce photographs, but it comes with an important limitation:
Traditional sublimation is designed around compatible polyester and sublimation-ready substrates, not ordinary 100% cotton shirts.
Sublimation dye becomes part of the compatible material rather than creating the same type of transfer layer you’d have with DTF.
That can produce a very soft finished feel because there isn’t a traditional transfer sitting on top of the fabric.
It’s especially useful for:
- White polyester shirts
- Light-colored polyester apparel
- Performance apparel
- All-over prints
- Photo-heavy polyester products
The major drawback is dark garments. Standard sublimation ink doesn’t provide a white underbase, so it isn’t the simple answer for putting a bright photograph onto a black cotton T-shirt.
Use Iron-On Transfer Paper
This is probably the method many people remember from childhood craft projects.
You buy compatible transfer paper, print the picture using the required home printer, trim the design, position it on the shirt, and apply it using heat according to the paper manufacturer’s directions.
The biggest advantage is accessibility.
You may already own much of what you need.
The tradeoff is that transfer paper products vary significantly in feel, appearance, application process, compatible shirt colors, and wash durability.
There are also separate products intended for light and dark fabrics, so you need to follow the instructions for the exact transfer paper you purchase.
Best for: Craft projects, experimenting, and people who want to make a one-off shirt with equipment they may already own.
Use Printable Heat-Transfer Vinyl
Traditional HTV is excellent for cut lettering, names, numbers, and simpler shapes.
For an actual photograph, however, you need a printable heat-transfer material rather than ordinary solid-color HTV.
The image is printed onto the compatible material, excess material is cut away as required, and the design is heat-applied to the shirt.
This can work for home businesses that already own compatible printing and cutting equipment, but there’s more material handling involved than simply ordering a finished DTF transfer.
Best for: Crafters already invested in vinyl cutters and compatible printable heat-transfer materials.
Best Ways to Put Pictures on T-Shirts Compared
| Method | Photos | Cotton | Dark Shirts | DIY Cost | Best For |
|---|---|---|---|---|---|
| DTF Transfer | Excellent | Yes | Yes | Low if you buy transfers | DIYers with a heat press, small businesses, detailed photo shirts |
| DTG | Excellent | Excellent | Yes with proper white-ink workflow | High equipment cost | Professionally printed custom shirts |
| Sublimation | Excellent | Not ideal for untreated 100% cotton | Limited | Moderate | Light polyester apparel |
| Iron-On Transfer Paper | Good | Depends on product | Requires appropriate dark-fabric product | Low | Crafts and occasional DIY projects |
| Printable HTV | Good | Yes with compatible material | Yes with compatible material | Moderate | Crafters with existing equipment |
How to Make a Shirt With a Picture on It Using DTF
If DTF sounds like the best option for your project, the process is surprisingly straightforward when you let a transfer printer handle the production side.
Choose Your Picture
Find the largest and clearest version of the image. Avoid screenshots when the original photo is available.
Prepare the Image
Crop the picture, correct obvious exposure problems, and decide whether you want the rectangular background included or removed.
Order the DTF Transfer
Upload your finished image to your DTF transfer provider at the size you want it printed.
Choose Your Shirt
Pick a compatible blank based on the fit, fabric, weight, color, and finished look you want.
Position the Picture
Lay the shirt flat and position the transfer carefully. Measure from the collar and centerline when consistency matters.
Heat Press It
Follow the time, temperature, pressure, and peel instructions supplied with your specific DTF transfer.
Peel the Film
Peel according to the instructions for your transfer system rather than assuming every DTF film uses the same peel method.
Finish With a Post-Press
Hollywood Prints recommends post-pressing our SMARTPEEL Technology transfers at 300–310°F for approximately 10 seconds after peeling, with a suitable protective cover over the exposed design.
We commonly use a Teflon sheet for our finishing press, while parchment paper and compatible silicone DTF finishing sheets are alternatives.
Want to understand why we recommend the extra finishing step? Read our guide to making DTF transfers feel more like screen printing .
Can You Put a Picture on a Black T-Shirt?
Absolutely, but the printing method matters.
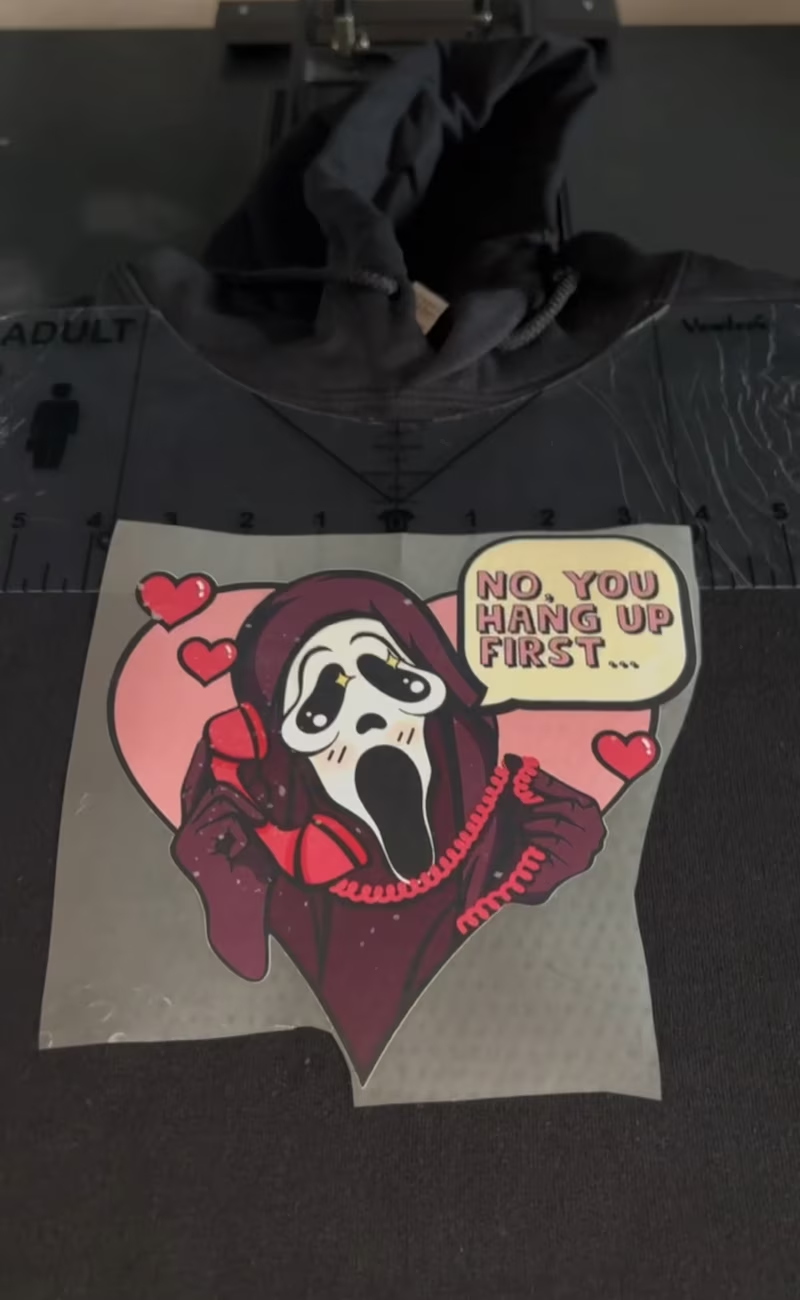
Imagine printing a photograph onto ordinary transparent film and placing it over a black shirt.
The dark fabric would interfere with the light areas and colors in the photograph.
That’s why methods intended for dark garments often need some form of opaque base behind the colored image.
DTF handles this using white ink behind the color layer. DTG systems can also use white ink when printing dark garments.
This allows photographs to remain bright and visible on black, navy, red, and other dark-colored shirts.
Standard sublimation doesn’t work the same way because it doesn’t print an opaque white underbase.
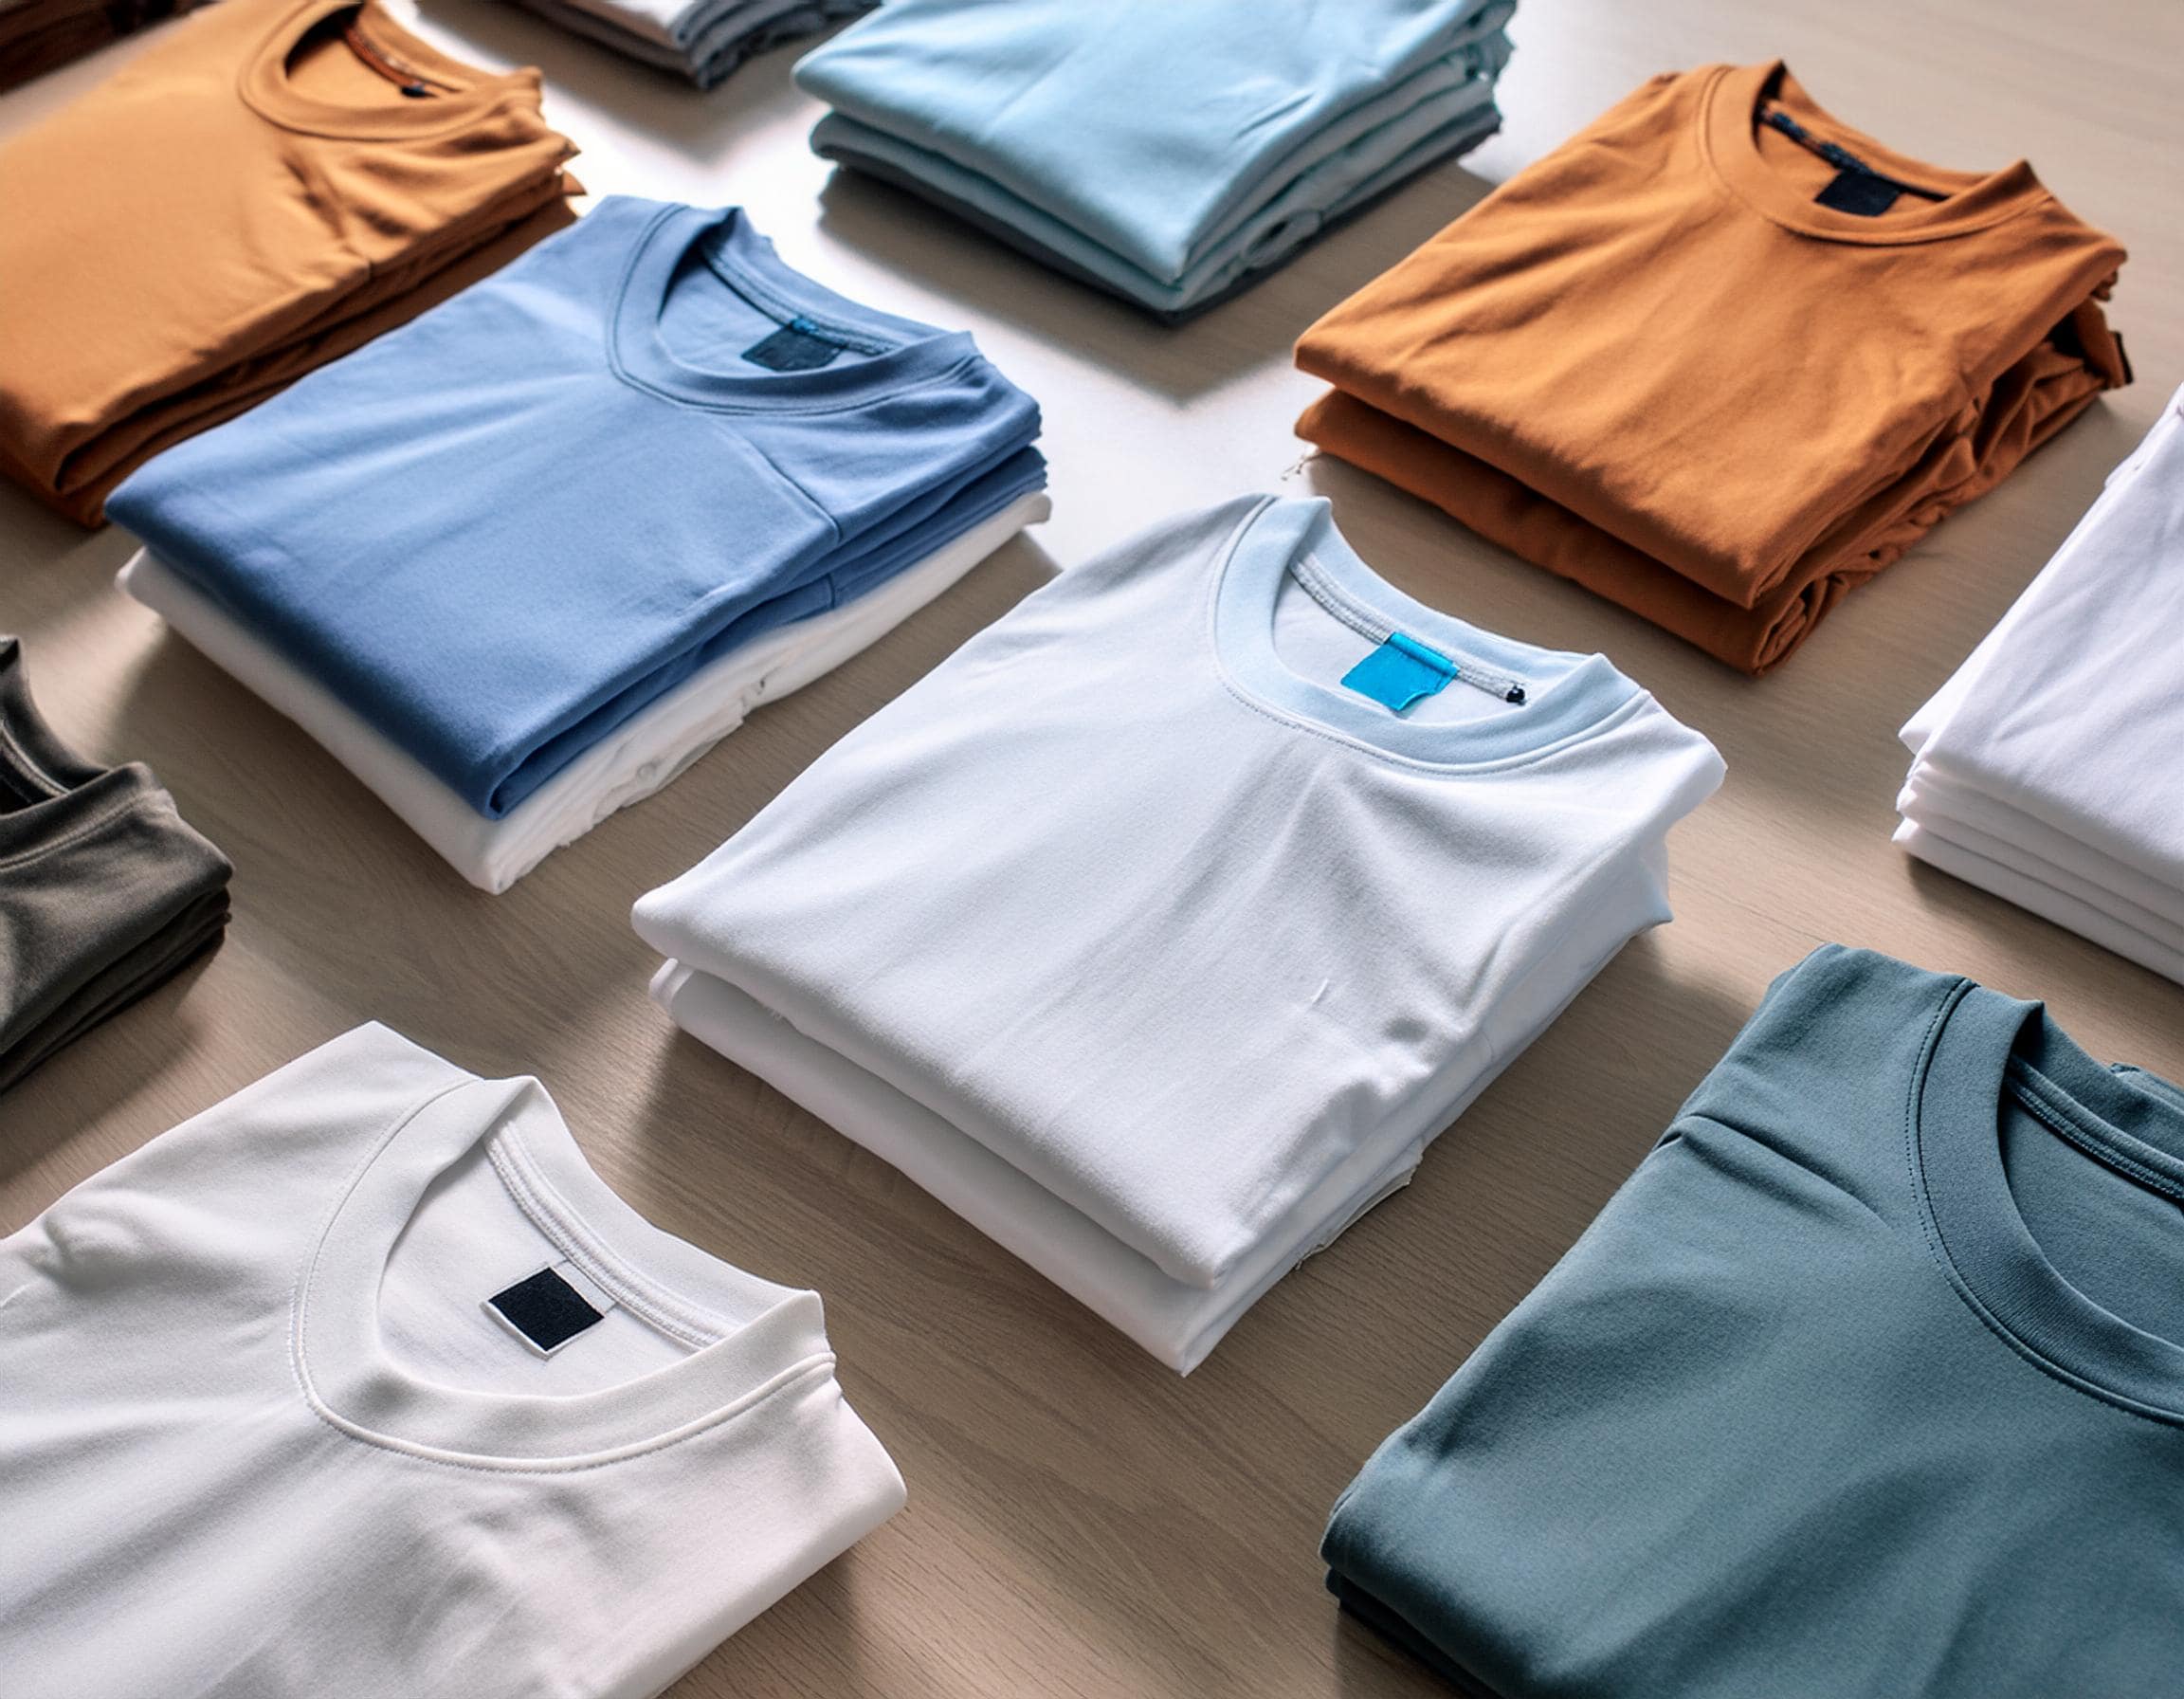
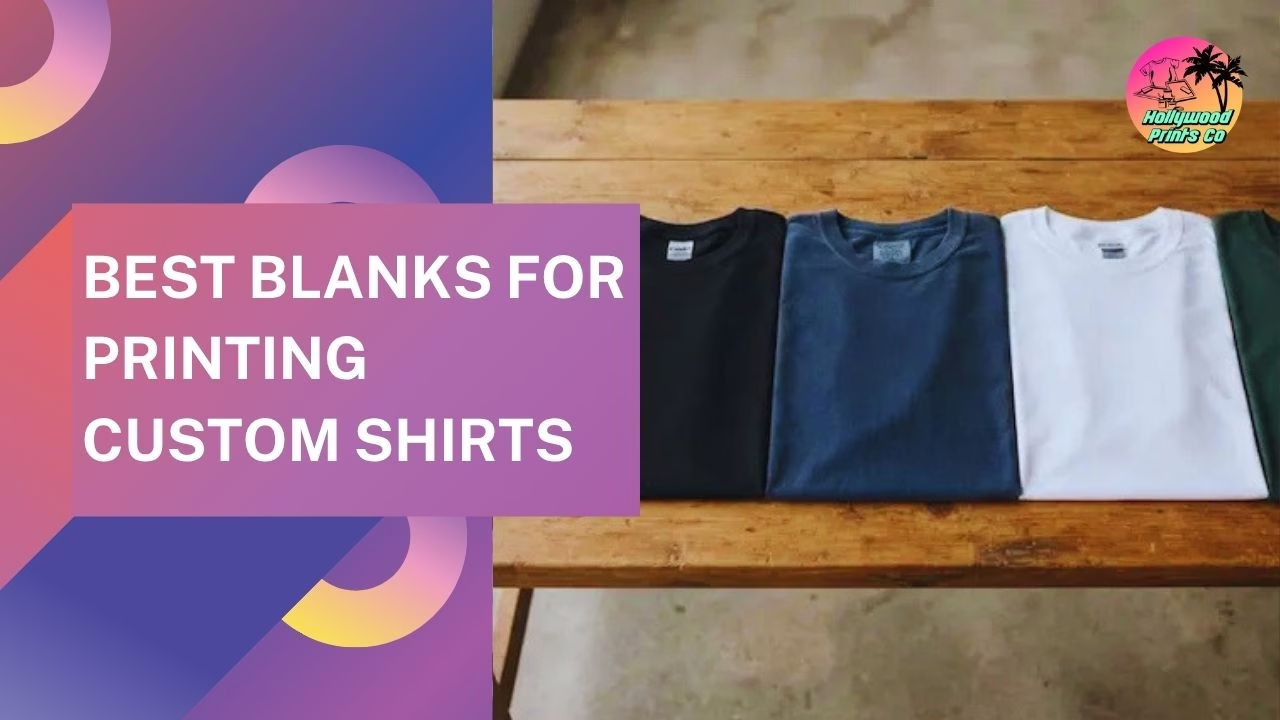
What Is the Best T-Shirt for Printing a Picture?
There’s no single answer because the best blank depends on the printing method and the finished look you want.
For DTF photo printing, a smooth shirt surface can help detailed artwork look especially clean.
At Hollywood Prints, some of the options worth considering include:
- Bella + Canvas for a soft, lightweight, modern retail-style shirt
- Comfort Colors for a heavier, garment-dyed, vintage-inspired shirt
- Gildan Softstyle for an affordable soft everyday option
- Gildan Heavy Cotton for a traditional, dependable custom T-shirt
- Team 365 when you need performance polyester
We compare these in much more detail in our guide to the best blank T-shirts for custom printing .
Should You Remove the Background From a Photo Before Putting It on a Shirt?
This is one of the easiest ways to make a photo shirt look more intentionally designed.
You have two main options.
Option 1: Print the Entire Photograph
Keep the full rectangular image, including the original background.
This works well for:
- Vacation photos
- Landscape photography
- Memorial pictures
- Group photographs
- Images where the setting is important
Option 2: Remove the Background
Isolate the person, pet, car, object, or other subject and save the finished artwork with transparency.
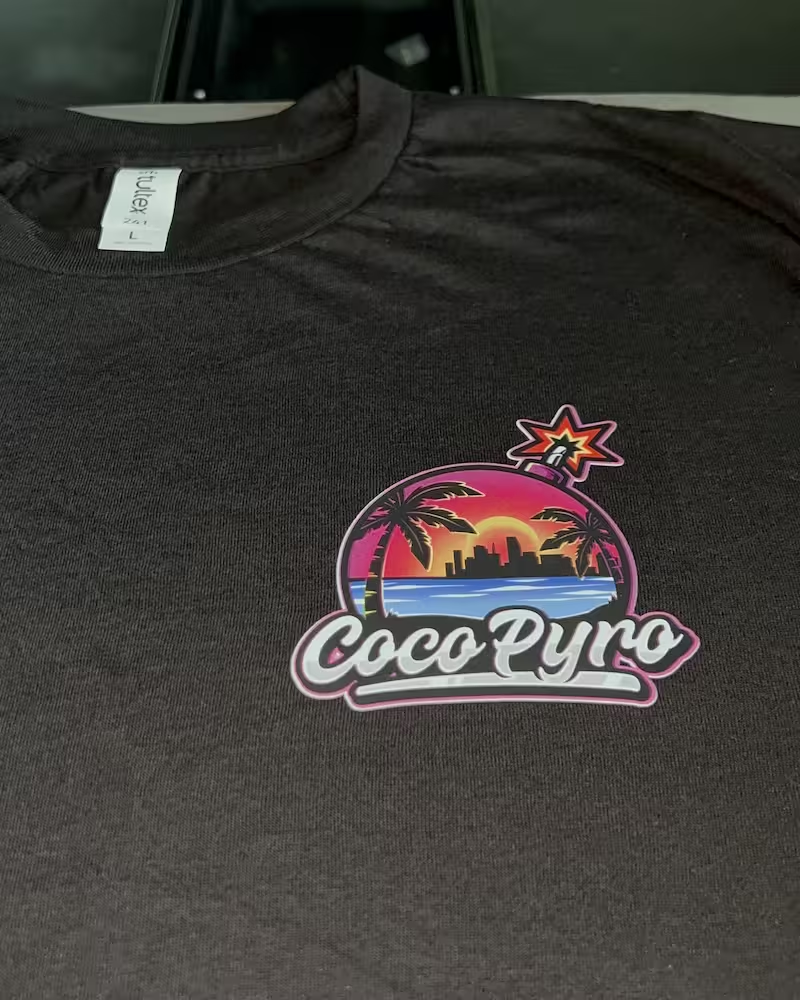
This often makes the shirt look more like designed apparel and less like a rectangular photograph pasted onto fabric.
You can then add:
- Text
- Names
- Dates
- Graphic effects
- Outlines
- Other photographs
- Vintage textures
Neither approach is inherently better. It depends on the style you’re trying to create.
How Big Should a Picture Be on a T-Shirt?
There isn’t one universal size because shirt sizes, body proportions, artwork orientation, and personal preference all vary.
However, a typical adult full-front design often lands somewhere around 10–12 inches wide, depending on the artwork and shirt.
Smaller left-chest photographs or logos may only need to be a few inches wide.
Don’t automatically make the picture as large as your printer allows.
Ask yourself:
- Is the photo portrait or landscape?
- Will text be added?
- How much negative space surrounds the subject?
- Is the shirt a Small or a 3XL?
- Does the design need to be readable from far away?
Print size should be a design decision, not simply a maximum-size decision.
How Do You Keep a Picture From Looking Blurry on a T-Shirt?
This is probably the most important part of photo printing.
A professional printer can reproduce the pixels you provide. It cannot recover facial details that disappeared years ago when an image was compressed down to a tiny file.
For the best result:
- Use the original photo whenever possible
- Avoid screenshots
- Don’t download a tiny social-media thumbnail
- Use a properly focused photograph
- Start with sufficient pixel dimensions
- Don’t enlarge a tiny image dramatically
- Check faces carefully before ordering
- Use sensible contrast and brightness
Can AI Fix a Low-Resolution Photo?
AI upscaling and restoration tools can sometimes improve the appearance of older or smaller images.
But remember what they’re doing: software is estimating missing information.
That can be extremely useful for an old family photo, but an AI-upscaled face shouldn’t automatically be treated as a perfect reconstruction of the original.
If you have access to a better original photograph, use that first.
What Pictures Work Best on T-Shirts?
Technically, almost any printable picture can become shirt artwork.
Creatively, some ideas work particularly well:
- Pet photos
- Family pictures
- Couple photos
- Memorial pictures
- Wedding photos
- Vacation photos
- Baby pictures
- Funny selfies
- Team photos
- Car and motorcycle photos
- Artwork and illustrations
- Business photography
We’ve even seen people deliberately use embarrassing pictures because making somebody wear the photo is the entire joke.
That’s part of the fun.
What If I Want to Put Multiple Pictures on One Shirt?
You absolutely can.
Instead of treating each photograph as a separate print, combine several images into one finished composition before printing.
This works especially well for:
- Memorial shirts
- Birthday shirts
- Anniversary gifts
- Family reunions
- Graduation shirts
- Bootleg rap-style tees
- Sports shirts
Try mixing different photo sizes rather than creating a rigid grid. Place the main picture in the center, use smaller supporting photos around it, and add a name, date, or phrase to tie the design together.
If you’re printing the transfers yourself, multiple photo designs can also be arranged together using our DTF Gang Sheet Builder .
How Do You Make a Photo T-Shirt Last?
Durability depends on the printing method, transfer quality, application, garment, and how the shirt is cared for.
For a DTF-decorated shirt, proper application is critical. Follow the exact instructions supplied with your transfers rather than assuming every DTF product uses identical settings.
For normal garment care, it’s generally smart to:
- Turn the shirt inside out before washing
- Use cold or cool water
- Avoid bleach unless the garment instructions specifically permit it
- Avoid excessive dryer heat
- Don’t iron directly over the printed picture
And if you’re applying Hollywood Prints SMARTPEEL transfers yourself, don’t underestimate the finishing press. We recommend a post-press after peeling to give the transfer a finished, secure application.
Frequently Asked Questions About Putting Pictures on T-Shirts
How do you put a picture on a T-shirt?
You can put a picture on a T-shirt using methods such as DTF transfers, direct-to-garment printing, sublimation, iron-on transfer paper, or printable heat-transfer vinyl. The best method depends on the shirt material, color, equipment available, and quality you want.
What is the easiest way to put a picture on a shirt?
If you own a heat press, ordering a ready-to-press DTF transfer is one of the easiest ways to create a professional full-color photo shirt without owning a garment printer. If you have no equipment, ordering the completed custom shirt from a professional printer is even simpler.
Can I put a picture from my phone on a T-shirt?
Yes. Modern smartphone photos can contain plenty of resolution for T-shirt printing. Use the original image file whenever possible rather than a screenshot or compressed copy downloaded from social media.
Can you put a picture on a black T-shirt?
Yes. Printing methods such as DTF and properly configured DTG can use white ink behind the colored image, allowing a photograph to remain bright and visible on black and other dark-colored shirts.
What file type is best for printing a picture on a shirt?
High-quality JPG files work well when printing the entire photograph. PNG is especially useful when the background has been removed because it supports transparency. Image quality and pixel dimensions are more important than simply choosing one extension over another.
Does a picture need to be 300 DPI for a T-shirt?
300 DPI at the intended print size is a useful high-quality target, but actual pixel dimensions matter. Changing a small image to 300 DPI without adding real image detail will not make it sharper. Start with the largest original file available.
Can you put a photo on a 100% cotton T-shirt?
Yes. DTF and DTG are both options for putting detailed photographs on suitable 100% cotton shirts. Traditional sublimation is generally better suited to compatible polyester rather than untreated 100% cotton.
Can I print a picture on a shirt with a regular printer?
A normal home printer cannot print directly onto an ordinary T-shirt. However, compatible iron-on transfer paper or certain printable heat-transfer materials can allow you to print the image first and then transfer it to the shirt. Follow the material manufacturer’s printer and application requirements.
Can I use an iron to put a picture on a shirt?
Some consumer transfer papers are designed for household iron application. Professional DTF transfers are better applied with a heat press because it provides more consistent temperature and pressure. Always follow the instructions for the specific transfer product you’re using.
How big should a picture be on the front of a T-shirt?
Many adult full-front designs fall around 10 to 12 inches wide, but the correct size depends on the shirt size, photograph orientation, artwork, and desired appearance. Smaller chest designs may only be a few inches wide.
Should I remove the background before printing a photo on a shirt?
You don’t have to. Keeping the background preserves the complete photograph, while removing it can make the subject feel more integrated into the shirt design. If you remove the background, save the artwork in a format such as PNG that supports transparency.
Can I put multiple pictures on one T-shirt?
Yes. Multiple pictures can be combined into a collage or custom composition before printing. This is popular for memorial shirts, birthdays, anniversaries, graduation shirts, family reunions, and vintage bootleg-style photo tees.
Final Answer: How Should You Put a Picture on a T-Shirt?
If you’ve been wondering how to put pictures on T-shirts, you have more options than ever.
You can make a simple craft project with transfer paper. You can use sublimation on compatible polyester. You can have a professional printer produce the shirt with DTG. You can use printable heat-transfer vinyl.
Or you can take what we think is one of the best middle-ground approaches:
Have your picture professionally printed as a DTF transfer, then press it onto the shirt yourself.
You get full-color photo reproduction without having to own and maintain the actual DTF printer.
And if you’d rather skip the DIY part entirely, that’s fine too.
Pick your shirt, upload your picture, and let Hollywood Prints turn it into something you can actually wear.
Browse custom clothing from Hollywood Prints or order ready-to-press custom DTF transfers .