
Applying Our DTF Transfers with an Iron
Press 2 times - 4 times faster with our Easy Peel Technology!
Set your Iron to the optimal temperature of 325°F / 163°C (if you don't know the temperature then we recommend the highest setting possible as this has given us the best results) along with hard pressure onto the transfer. Press for about 15 seconds. Peel after 5 seconds, hot or cold. Press again for a post press for 13 seconds.
We recommend using our step-by-step pressing instructions on this page to help you if you’re using a household iron.
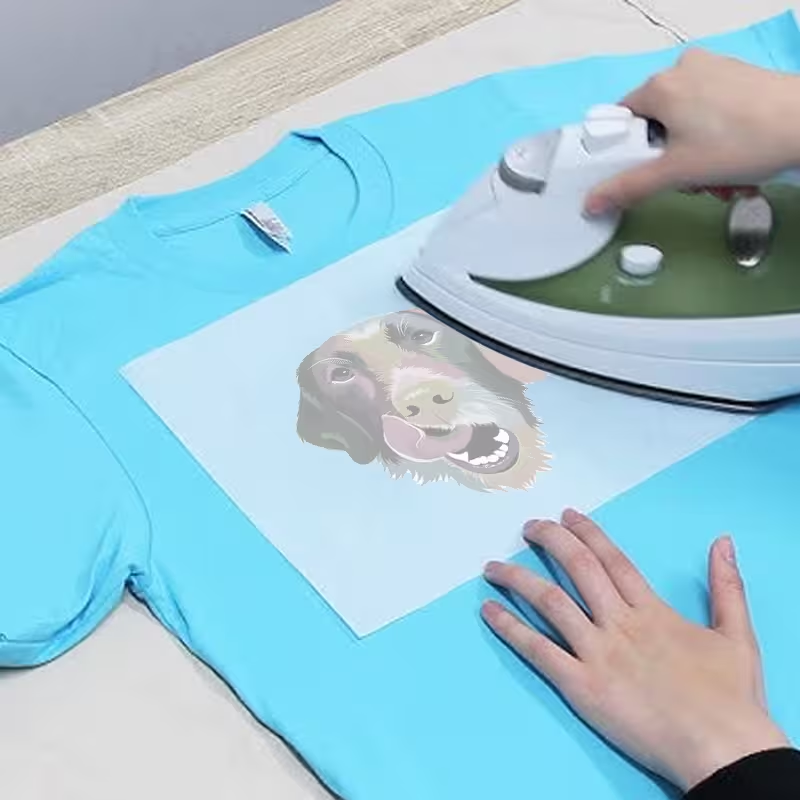
Step 1. Position & Press Your Design
Take your time to line up your artwork in the desired print area. To keep the transfer from shifting, secure it with Thermal Heat Tape. Set your iron to a temperature that matches your fabric. If the transfer isn’t adhering properly, gradually increase the heat toward the cotton/linen setting while ensuring it won’t damage your garment. Before pressing, place a Silicone Garment Protector or a parchment paper over the transfer and apply firm pressure for 20 seconds.

Step 2. Peel Hot After a Few Seconds
Thanks to our Instant Peel Technology, you can peel the transfer whichever way you’d like either hot or cool. After pressing, wait a few seconds before peeling to allow the transfer to set into the garment. Then, slowly and steadily peel the film away.
If any part of the design isn’t fully adhering, don’t worry! Simply lay the film back down and press again, applying firm pressure. Increase the heat by 15°F increments if needed until the design fully transfers. Just remember, our premium DTF transfers are built to withstand multiple presses so don’t worry about damaging your design by reapplying heat!
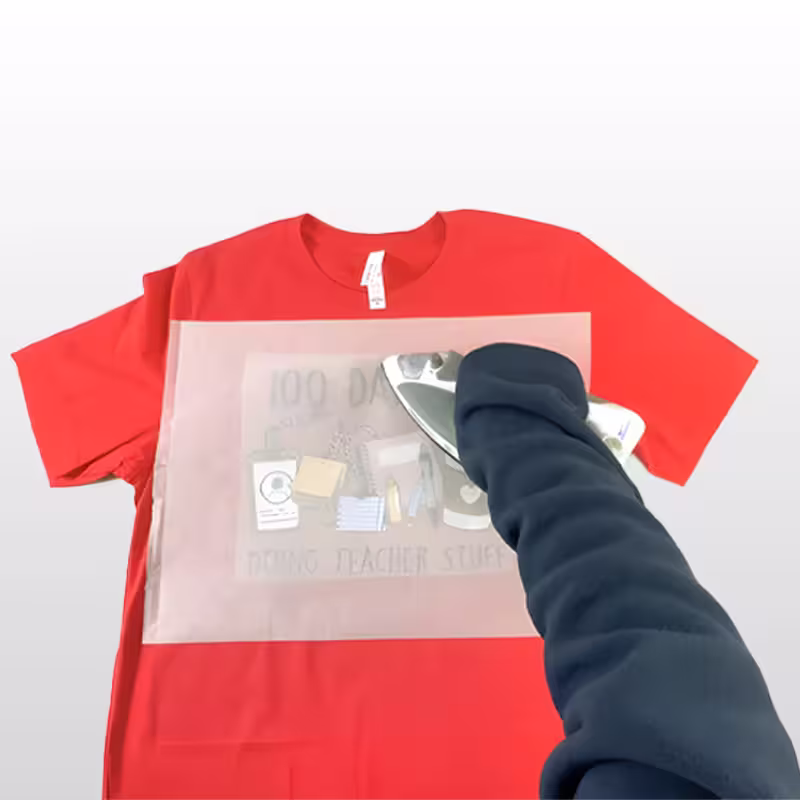
Step 3. Final / Post Press
For a smooth, long-lasting finish, place the included parchment paper or a single layer of t-shirt fabric over your design and press again for 15 seconds. This extra step helps soften the print, improve durability, and reduce shine for a more natural look.
Prefer a shinier finish? Swap out the parchment paper for a Protective Guard Sheet or a Teflon sheet to give your design a glossy, professional touch.

Step 4. Wear & Enjoy Your Design
Congratulations! Your custom design is now set and ready to wear. Take a moment to admire your work, show it off, and enjoy the high quality, vibrant print. For the best durability, allow the garment to rest for at least 48 hours before the first wash. This helps the transfer fully bond to the fabric, ensuring long-lasting results.
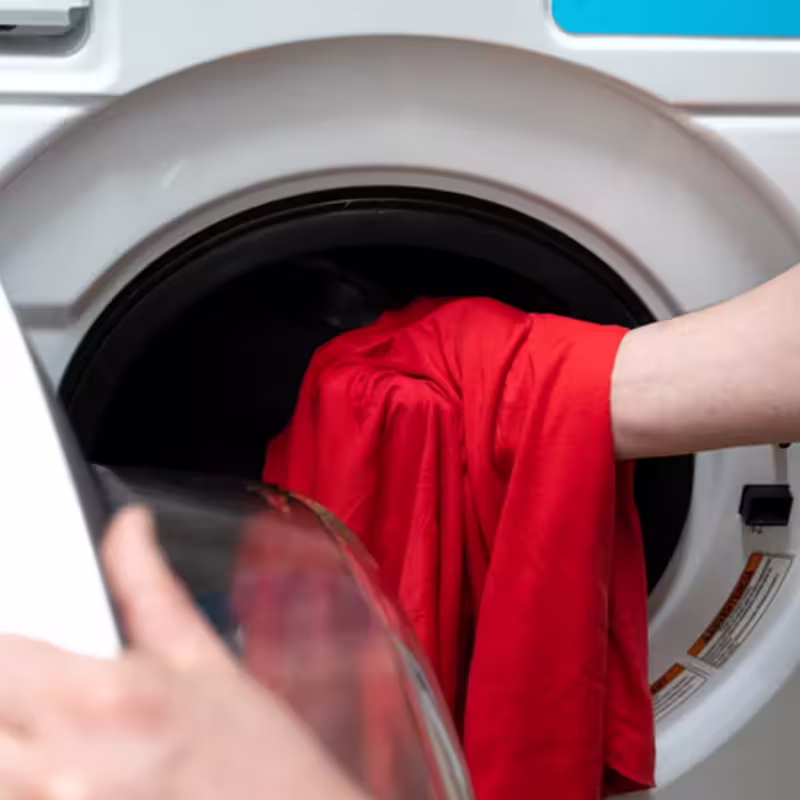
Step 5. How to Wash
Washing with cold water from the inside out is the best option. We would advise hanging drying rather than using a dryer because you are using an iron rather than a heat press, which tends to apply heat more evenly and with greater pressure. We advise using a dryer on low heat, inside out, if you do choose to use one.
When using a household iron, each person has a different iron, heat, and pressure, so experiment to see what suits you best. Keep in mind that your transfers cannot be over pressed. With that, the more pressure when being pressed then the more durability they have through washing and drying.
