Heat Press Instructions for DTF Transfers
Applying Our DTF Transfers with a Heat Press
Press 2 times - 4 times faster with our Instant Peel Technology!
Set your Cricut to 320°F - 340°F and use hard pressure when pressing. Press for about 20 seconds. Peel after 5 seconds, hot or cool. Second Press for 20 seconds. Then wear your design with pride!
We recommend using our step-by-step pressing instructions on this page to help you if you’re using a heat press.
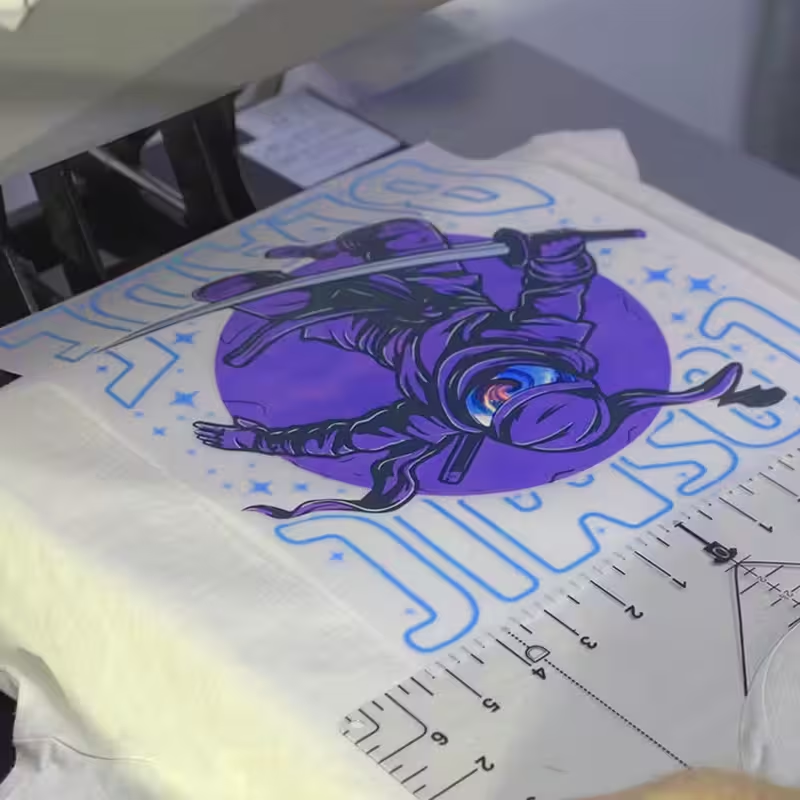
Step 1. Position & Place Your Design
Lay your garment flat on the heat press and ensure there are no large wrinkles under the transfer area.
Position your design precisely where you want it:
- Adult t-shirts (front): 3-4 inches from the collar
- Youth t-shirts (front): 2-3 inches from the collar
- Back of garments: Typically placed an inch lower than the front
If pressing on hats or curved surfaces, use heat-resistant tape to prevent the transfer from shifting.
🔥 Pro Tip: Flip your shirt around so the collar is closer to you when placing it on the heat press. This allows for better alignment and faster workflow so once you try it, you won’t go back!
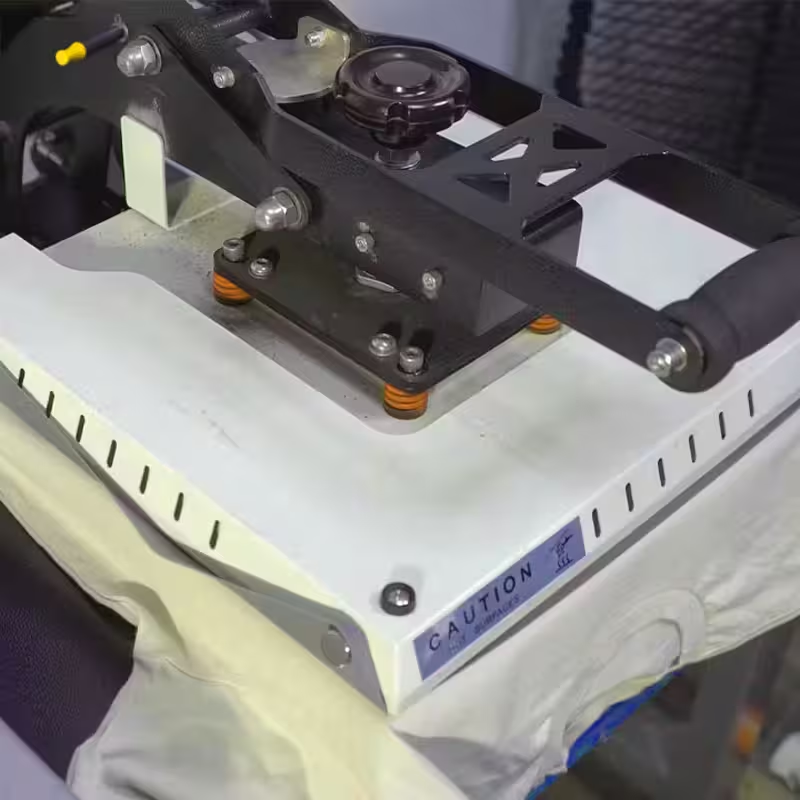
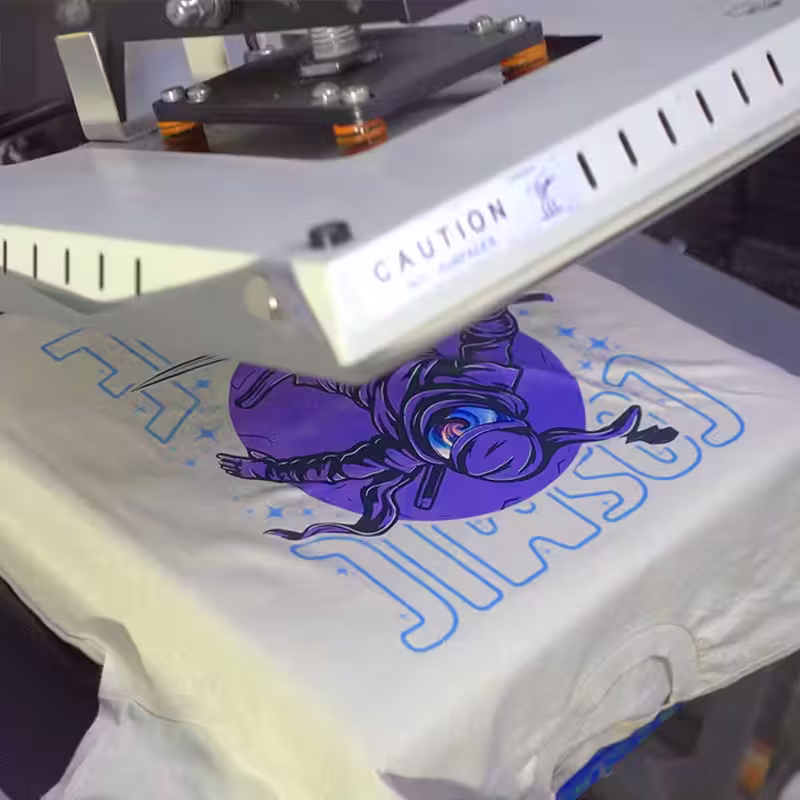
Step 2. Press with the Right Settings
Set your heat press to 310°F / 155°C with medium to high pressure and press for 13 seconds.
Before pressing, place a Silicone Upper Platen Cover & Garment Protector over the transfer. This protects your garment from direct heat while ensuring even pressure.
You can’t damage the transfer by pressing longer, hotter, or with more pressure but the garment itself may scorch which you don’t want. If this happens, reduce pressure first. If scorching persists, lower the temperature by 10 – 15°F and try again.
🔥 Pro Tip: Using a Silicone Upper Platen Cover & Garment Protector can increase your production speed by 2 – 4x while maintaining consistent results!
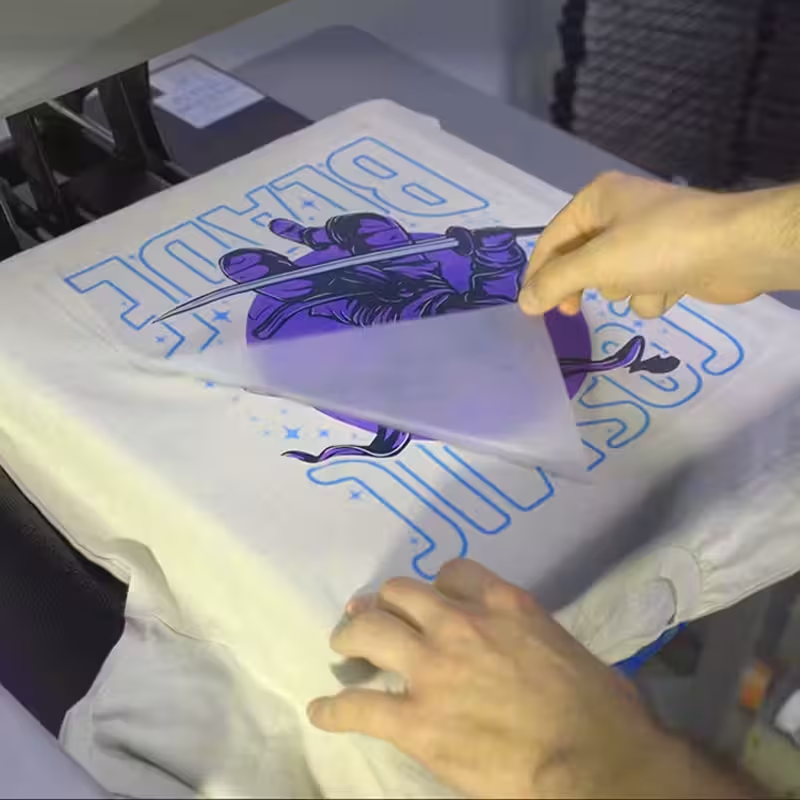
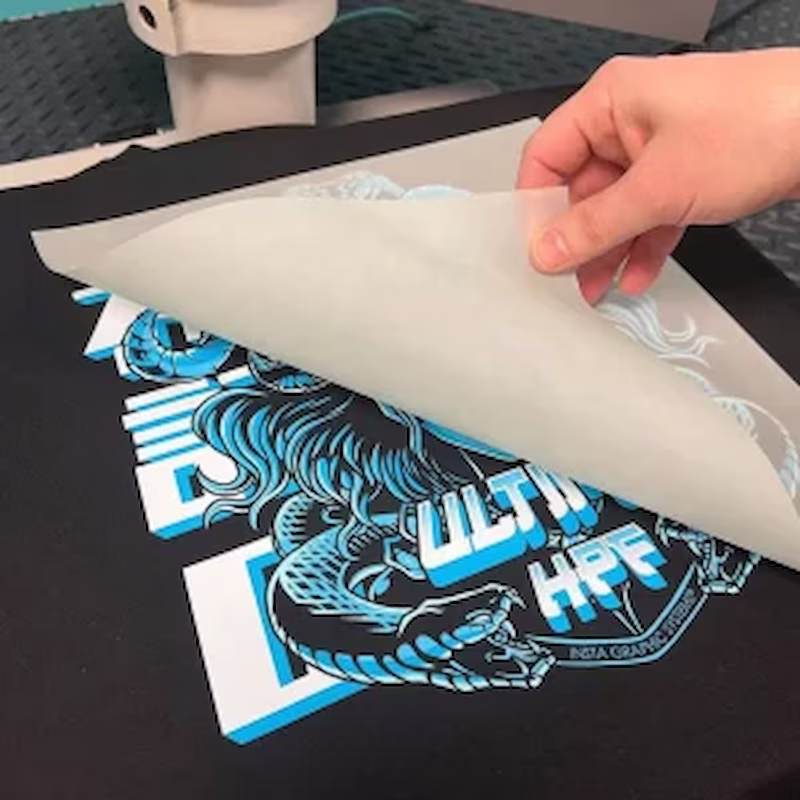
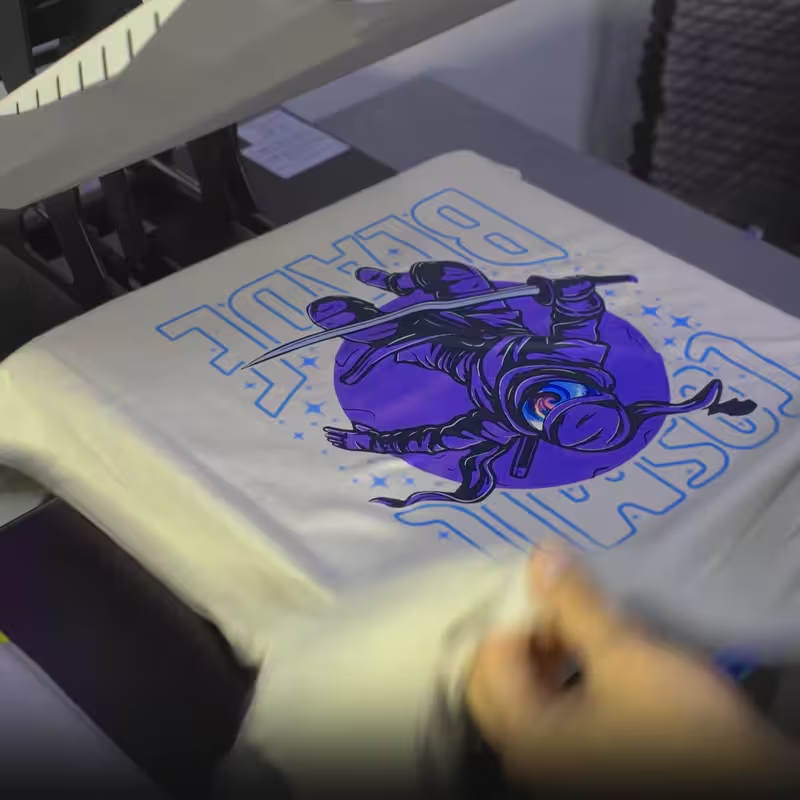
Step 3. Peel Fast After a Few Seconds
With Hollywood Prints Instant Peel Technology, you can peel hot immediately after pressing. (We do recommend waiting about 2-5 seconds, but some customers have great results without needing to wait.) Simply remove the film in one smooth motion.
If any part of the design isn’t sticking:
- Lay the film back down and press again with more pressure and heat (+15°F increments).
- Repeat until the transfer fully adheres as Hollywood Prints DTF Transfers are built to handle multiple presses without damage!
Step 4. Final / Post Press
Once the film is removed, cover the design with parchment paper or a single layer of t-shirt fabric, then press again for 12 – 15 seconds.
This step helps with:
- Increasing durability
- Softening the design to feel better with touch
- Reducing shine
Prefer a glossy finish? Use a Guard Sheet instead for a polished, high-shine look.
⚠️ Important Tip: Many companies recommend pressing only once, but after hundreds of wash tests, we’ve found that a final press is essential for a superior, long-lasting product.
Step 5. Wear & Enjoy Your Design
Congratulations! Your Hollywood Prints Premium Instant Peel DTF Transfer is now perfectly applied and ready to wear. Your custom design is vibrant, durable, and long lasting, standing up to repeated washes without fading or cracking.
To keep your design looking fresh for as long as possible:
- Wash inside out in cold water
- Use mild detergent (avoid bleach or fabric softeners)
- Tumble dry low or hang dry for maximum longevity
🔥 Pro Tip: The first wash is crucial! Wait at least 24 hours before washing to allow the design to fully cure into the fabric for maximum durability.
Tips from Hollywood Prints
Wash & Care Instructions: For maximum durability and longevity, wash your garment inside out in cold water and dry on low heat or hang dry. Standard wash settings work fine, but using a gentler cycle will help preserve the design even longer.
Avoid Scorching Your Garment: To protect your fabric and transfer from heat damage, always use our Silicone Garment Protector when pressing. If you experience permanent scorching (different from temporary heat discoloration), lower the heat by 15°F (~9°C) and reduce pressure. Learn more about preventing scorch marks here.
Secure Your Protective Cover with Magnets: To keep the Silicone Garment Protector in place, use magnets to attach it to the heat press platen. This ensures your garment is always protected. Every purchase of our Silicone Upper Platen Cover & Garment Protector includes a free set of heavy-duty magnets to help with this.
Perfect Transfer Placement Every Time: Achieve consistent and professional placement using our DTF Alignment Ruler. This tool eliminates guesswork, ensuring every design is perfectly aligned.
Make Your Transfers Feel Softer: For a softer, more natural feel, fine-tuning your artwork, press technique, and using a textured cover sheet can make a huge difference.
Extra Pro Tips for Flawless DTF Transfers:
Press in Two Stages: A final press with parchment paper after peeling increases durability, reduces shine, and softens the design.
Adjust Heat & Pressure as Needed: If a transfer isn’t sticking properly, increase heat in 10-15°F increments and apply firmer pressure.
Pre-Press for Moisture Removal: Press the garment for 5-10 seconds before applying the transfer to remove excess moisture and prevent adhesion issues.
Wait Before Washing: For best results, wait at least 24 hours before the first wash to allow the transfer to fully set into the fabric.
Layering Transfers? Press in Stages: If applying multiple transfers, press each layer separately before finalizing the design.
By following these tips, you’ll get the most vibrant, durable, and professional-quality DTF transfers every time! 🔥