Cricut Instructions for DTF Transfers
Applying Our DTF Transfers with a Cricut
Press 2 times - 4 times faster with our Instant Peel Technology!
Set your Cricut to 320°F - 340°F and use hard pressure when pressing. Press for about 20 seconds. Peel after 5 seconds, hot or cool. Second Press for 20 seconds. Then wear your design with pride!

We recommend using our step-by-step pressing instructions on this page to help you if you’re using a Cricut.

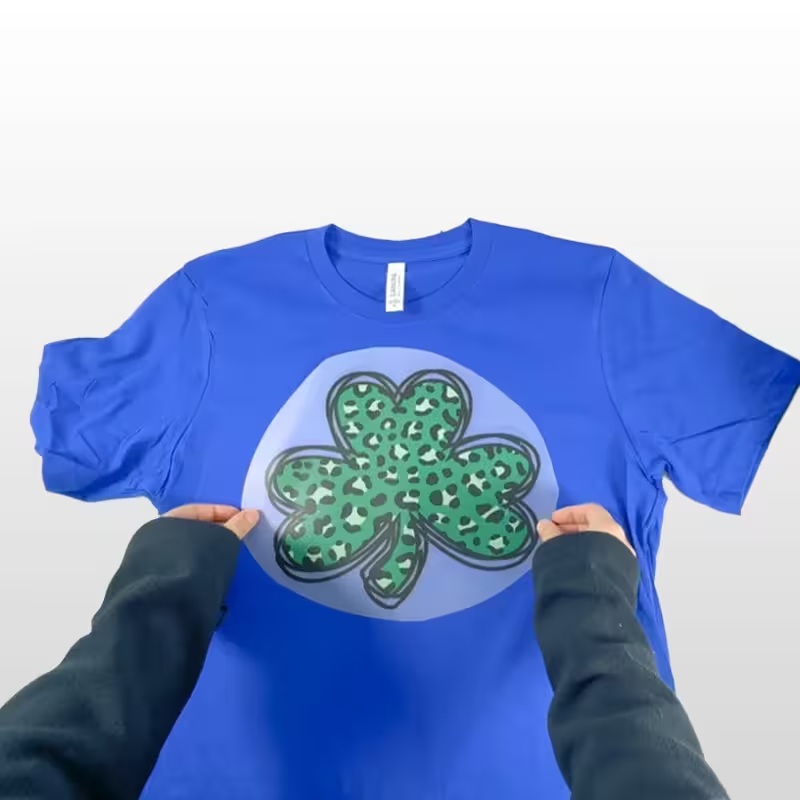
Step 1. Position & Place Your Design
No need to pre-iron your garment (although we do recommend it), Hollywood Prints Premium Instant Peel Technology DTF Transfers adhere perfectly without it! Position your transfer in the desired spot:
- Adult t-shirts (front): 3-4 inches down from the collar
- Youth t-shirts (front): 2-3 inches down
- Back of garments: Typically placed an inch lower than the front
The best way to perfect placement is to apply a transfer to one shirt and try it on. This will help build confidence for future applications. For even more accuracy, consider using our Pressing Alignment Set, designed for adult, youth, toddler, infant, and plus-size garments (2X-6X).

Step 2. Press Your DTF Transfer
Set your heat press or Cricut to 320°F – 340°F and press for 20 seconds with firm pressure. If the transfer isn’t fully adhering, increase the temperature in 15°F increments and press again with more pressure.
Before pressing, place a Silicone Garment Protector or parchment paper over the transfer to ensure even heat distribution. Don’t worry about over pressing because the more firmly you press, the more durable your design will be!

Step 3. Peel Hot After a Few Seconds
Thanks to our Instant Peel Technology, you can peel your transfer whichever way works best for you hot or cool. After pressing, wait a few seconds and slowly peel away the film.
If any part of the design isn’t fully sticking, simply lay the film back down and press again, applying more pressure and heat (again increasing temperature in 15°F increments) until it adheres completely. The best part? Hollywood Prints Premium Transfers can handle multiple presses without damage so don’t worry about pressing too much!

Step 4. Final / Post Press
For a softer feel, increased durability, and reduced shine, place parchment paper or a single layer of t-shirt material over the design and press again using the same settings for 20 seconds.
Prefer a glossy finish? Use a Protective Guard Sheet instead for a polished, professional shine look to your transfers.
Now you’re ready to rock your custom design with confidence! (We always recommend post pressing as it makes the overall design pressed more durable.)

Step 5. Wear & Enjoy Your Design
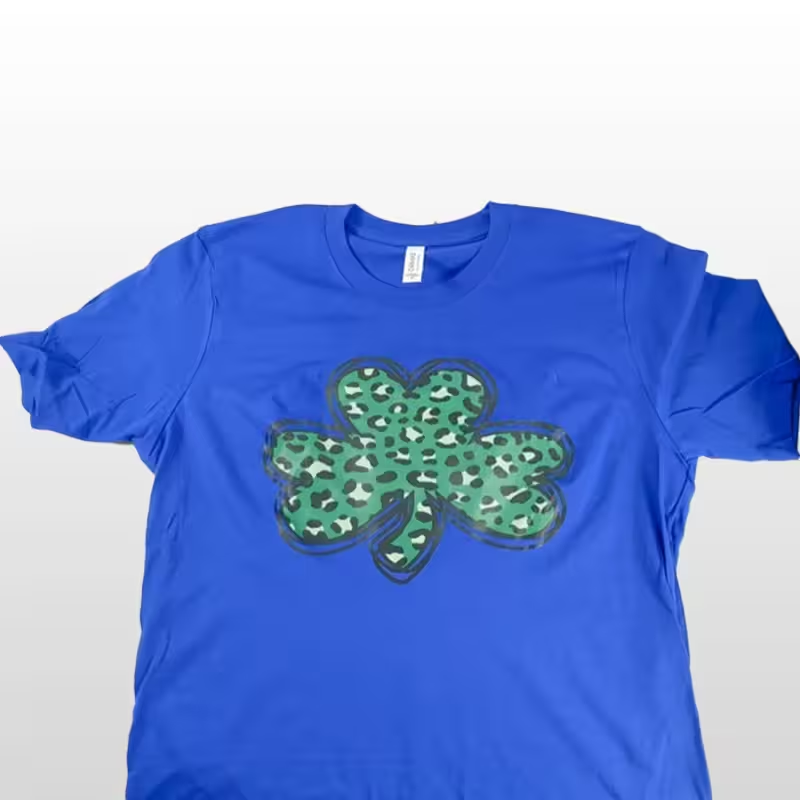
Congratulations! Your custom design is now ready to be worn. Take a moment to admire your work, show it off, and enjoy the high-quality, vibrant print. For the best durability, we always recommend allowing the garment to rest for at least 24 hours before the first wash. This helps with allowing the transfer to fully bond to the fabric, ensuring long-lasting results.
